


When I was a kid, my parents always decorated our house festively for the holidays. They would plan ahead and decorate before the first snowfall and make sure the house shined brightly throughout the long, dark winter. We didn’t have extravagant decorations — just one pine tree covered in large colorful bulbs and a few garlands with lights around our doorframes. And we also had very special decorations that my dad made himself out of two pieces of plywood — a giant hand-painted Santa standing alone with his sleigh on one and a giant hand-painted Frosty the Snowman and Rudolph smiling together on the other.
But there came a point when my parents — who loved the Christmas season more than anyone I knew — stopped decorating the house altogether. They didn’t have the energy they once had to get the decorations out. They didn’t have the energy to put everything up when no one was coming home anyway. And then when my mom passed away, there didn’t seem to be any reason for decorations at all.
Creating a Winter Wonderland Tree
When the pandemic hit last year, we all had to be creative about how to celebrate the holidays with our families apart. Not wanting my dad to be totally alone for his first holiday after my mom passed away, I created an advent calendar of notes my dad could read throughout December from my siblings and me and all of his grandchildren. (He actually saved the notes to read again this year!) This year, I decided to make him something else to add some holiday cheer to his decor — a “We Love You!” Winter Wonderland Tree! While it’s just a simple tree to hold notes and art from his grandchildren, I hope it brings a smile to his face when we all can’t be together.
Do you have a loved one who needs a little holiday cheer this year? Make a “We Love You!” Winter Wonderland Tree. You can make it large or small, depending on if you need to ship it. And you can also tuck it away for your loved one to use again next year. This craft was inspired by this space-saving Christmas tree I saw on Michaels.com. Feel free to adjust this craft to your own liking!
 Materials
- 1 Elmer’s Cork Foam Board (Really, you can use any type of foam board, but the cork provides some cool texture when it’s painted.)
- A pencil
- A ruler for measuring or making straight lines
- An Exacto knife or box cutter (Make sure to have extra cardboard or something to put under the cork form board when cutting.)
- A spool of twine
- Hot glue and glue sticks
- Strong tape (I used clear packing tape.)
- Ribbon (I used thick red ribbon, but you can use any size and color.)
- A few sheets of cardstock or index cards.
- 1 bag of Creatology Mini Wood Clothespins
Directions to Make a “We Love You!” Winter Wonderland Tree
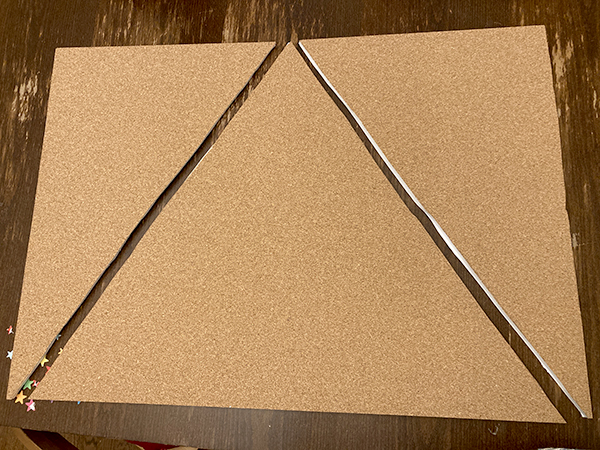
- Place the foam board on the table so that it’s in a portrait position rather than landscape. Measure 4″ from the bottom and cut horizontally. Save this piece to create the tree trunk and a star.
- Next, cut a triangle from the large portion of foam board is left. I decided to make two trees out of the remaining foam board — one for my dad and one for my in-laws. Here’s where you can decide how large you want the tree to be. I cut one large triangle that provided two smaller triangles I planned to glue together to create a second large triangle.
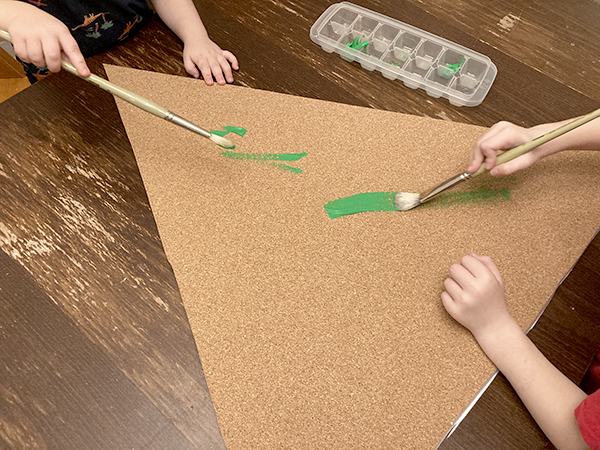
- Ask your child to paint the triangles, if you’d like. You can also leave them brown.
- Next, take the smaller piece you cut from step one and cut a short trunk for your tree. When the paint is dry, use the glue gun to glue it to the back of your tree.
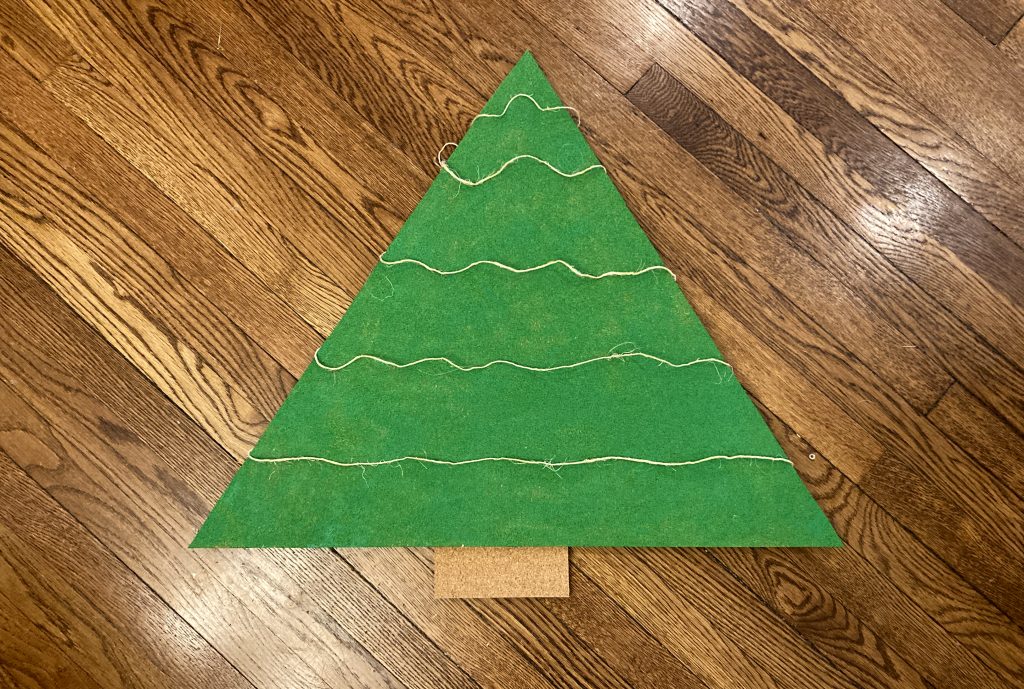
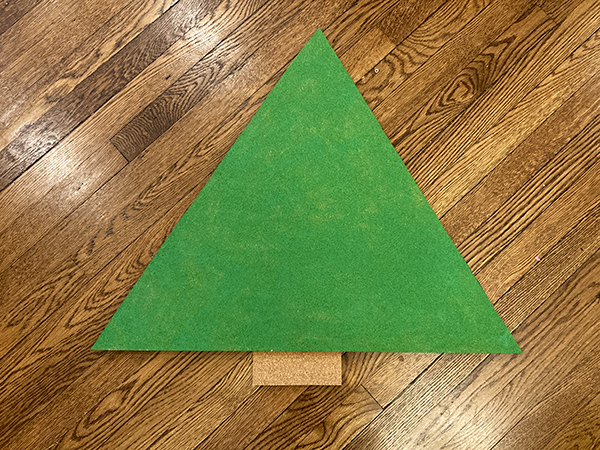 Here’s what my tree made out of two triangles looks like.
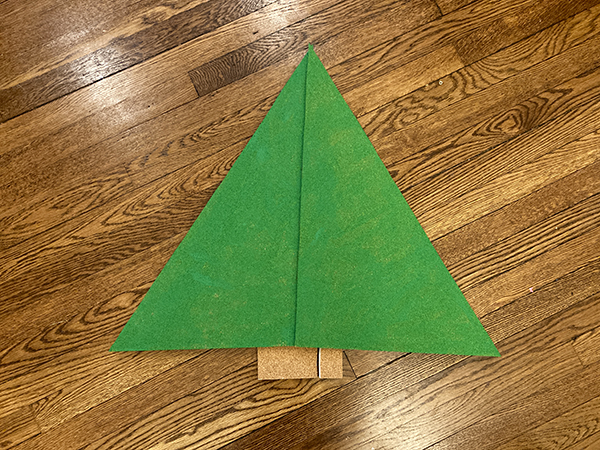
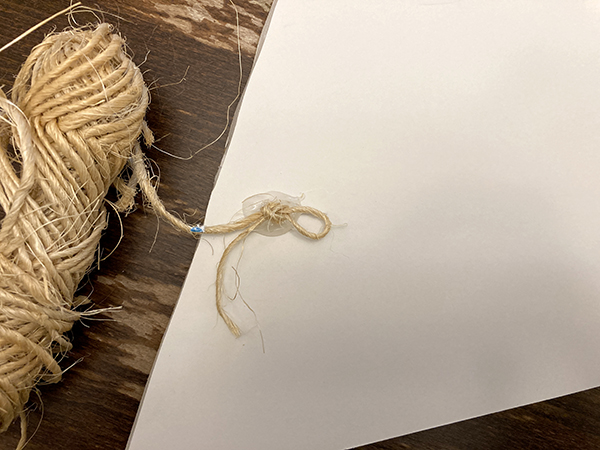
- Then, hot glue or tape a knotted end of the twine to the lower-left corner on the back of your tree. In the end, I used both hot glue and a piece of tape.
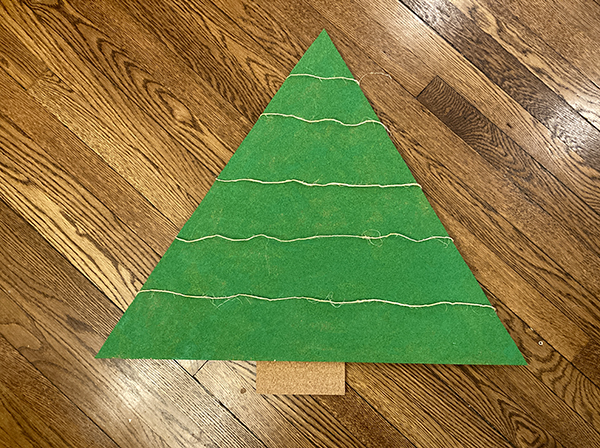
- Loosely wrap the twine around the front and back so that you have vertical lines of twine running across the tree.
- Tape the twine at various spots on the back of the tree, being careful to lightly tighten the twine that’s going across the front. You’ll want the twine in the front to be tight, but not too tight. As you go, tape the twine down in the back. At the top, secure the twine with hot glue or tape. Here’s a view of the front:
 Here’s the back:
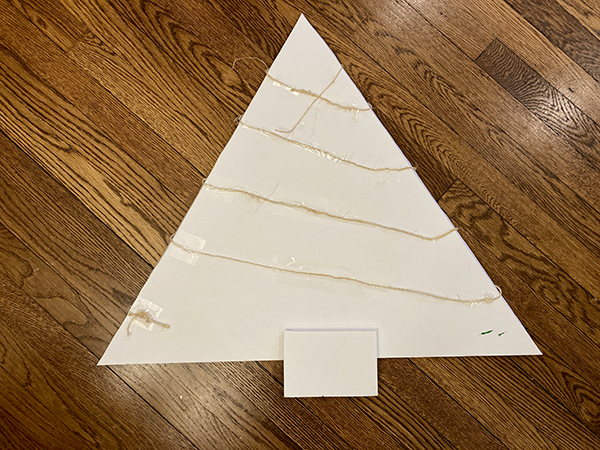
- Next, add ribbon! I didn’t have enough ribbon to wrap it around the tree, so I cut the ribbon into strips as I went and taped it in the back. Here’s a view of the front:
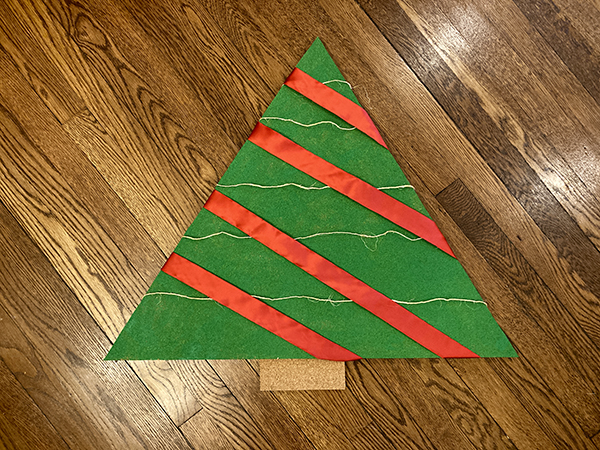 Here’s the back:
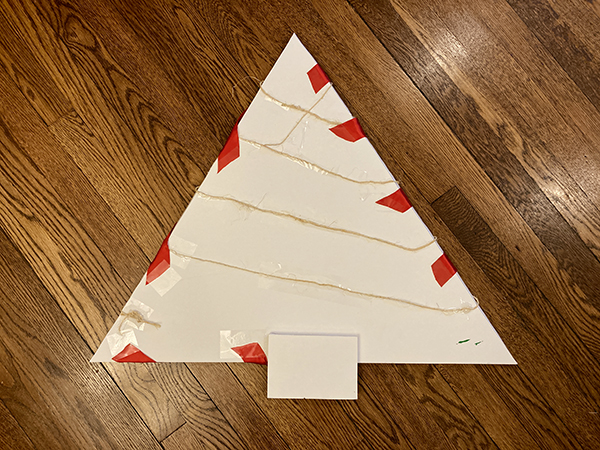
- Then, cut out a star from the 4″ piece of the foam board you have left. I used a cookie cutter to trace a star. It doesn’t have to be perfect. Invite your child to paint the star yellow.

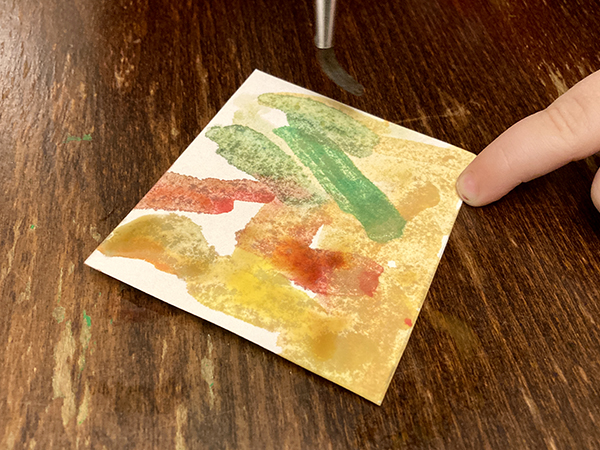
- Cut the cardstock into 2″ x 3″ pieces. Then ask your child to decorate 10 pieces to create ornaments for the tree. They can write notes or draw pictures. Both of my children decided they wanted to use watercolors to create the ornaments. This is a great way to allow them to try different ways to make art!
- Glue the star to the top of the tree and add the mini clothespins to various spots on the tree.
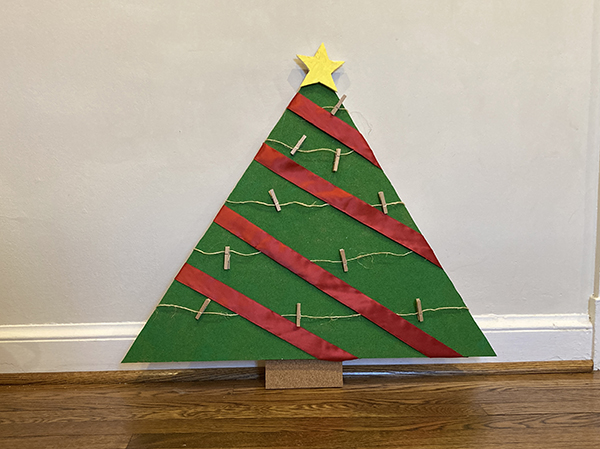
- Finally, once your child’s art is ready, pin the art to the tree. The final piece can stand on its own by leaning against a wall, a TV stand, or a bookcase.
This article was originally published in 2021.


