


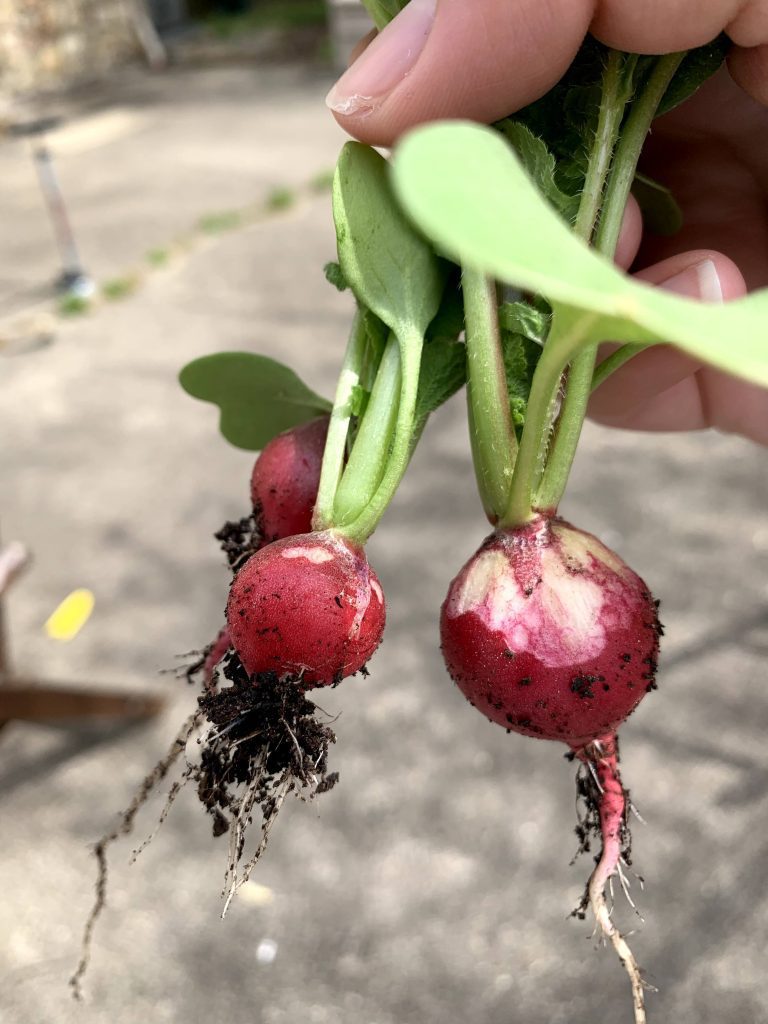
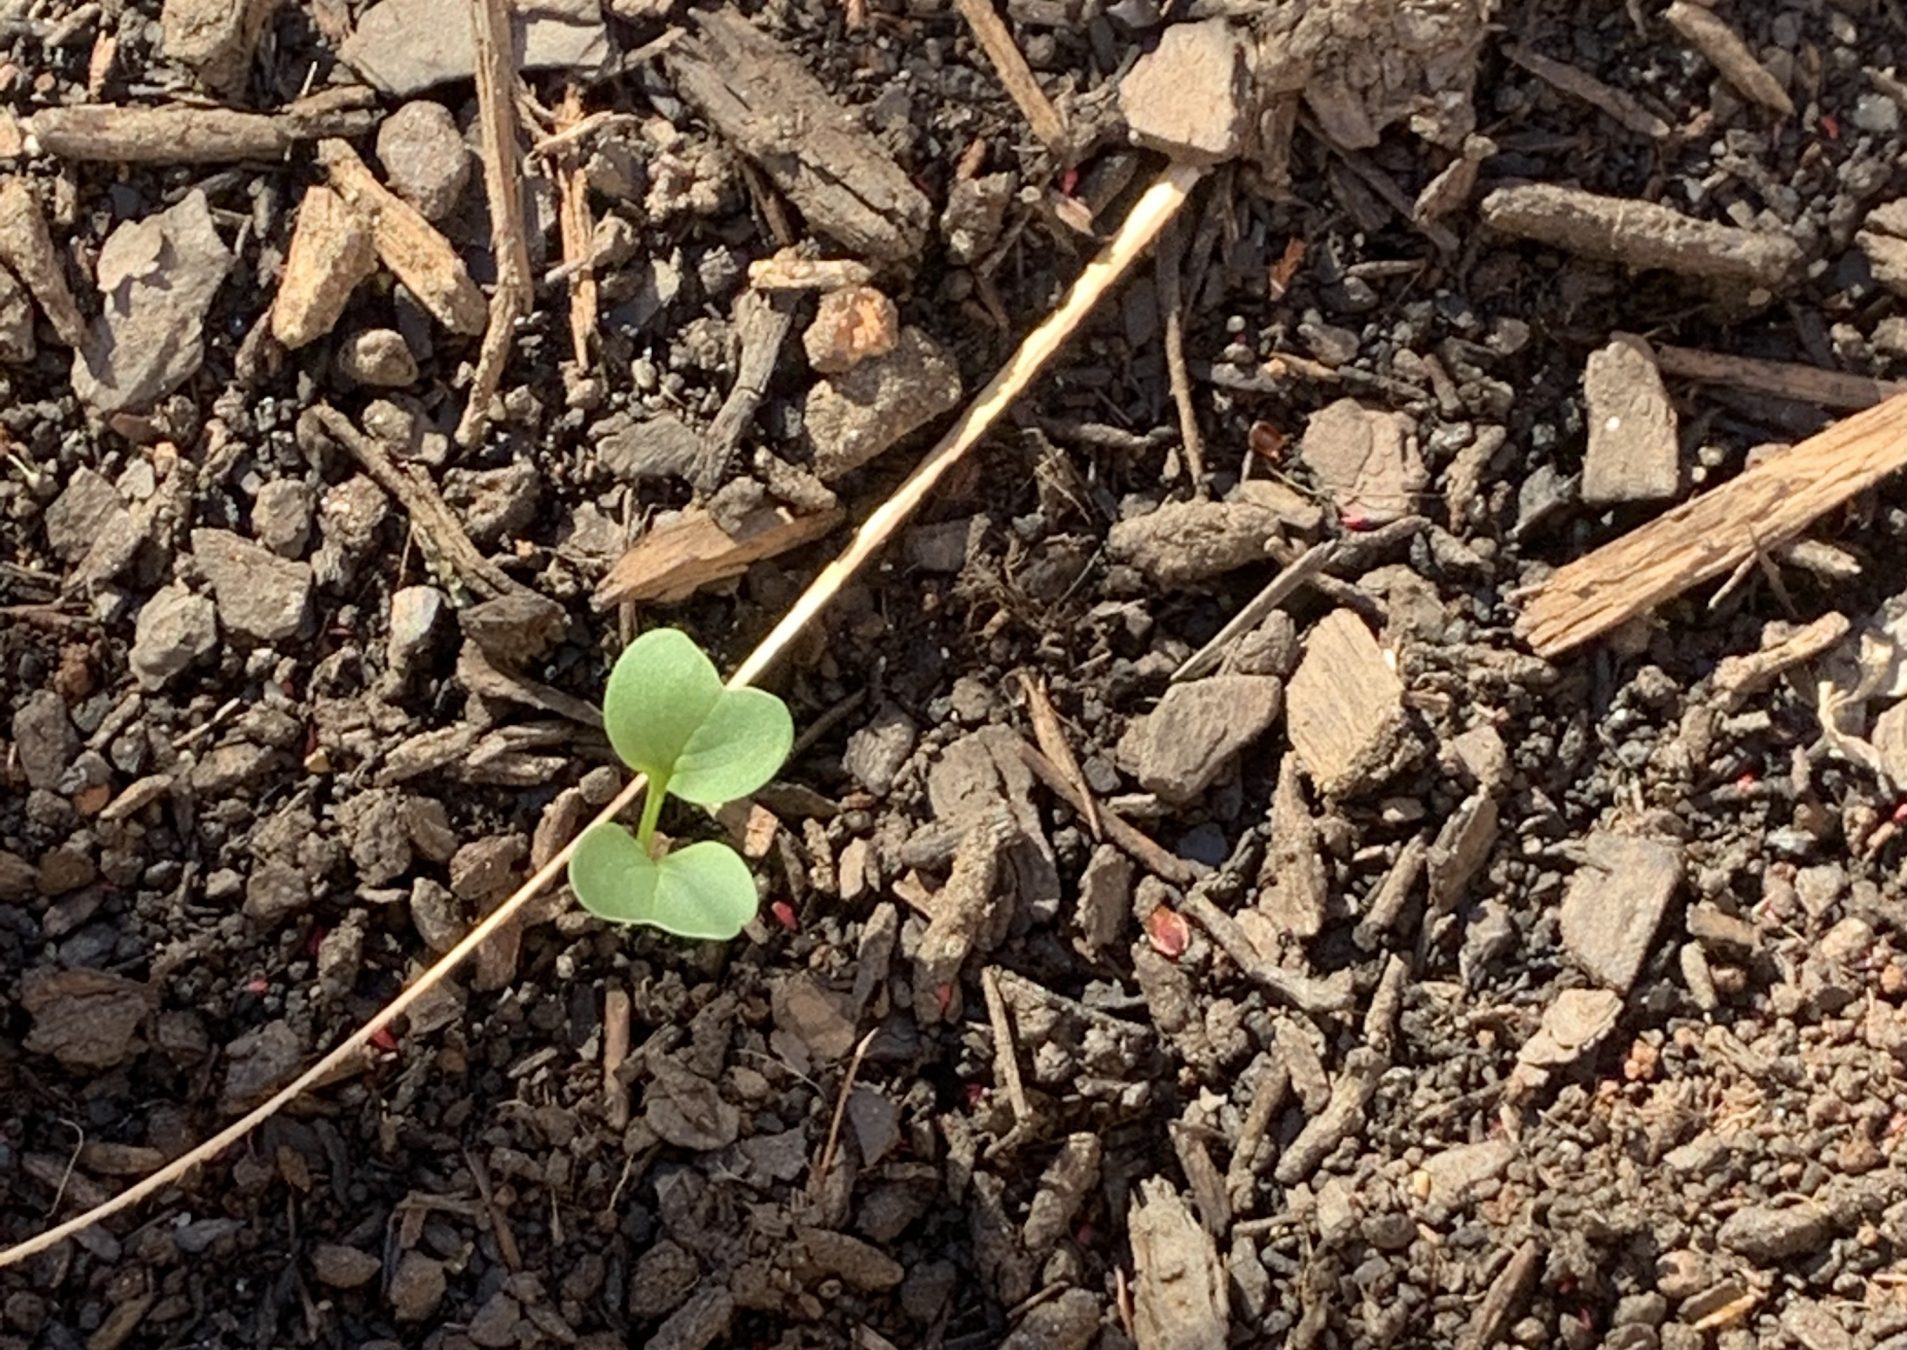
The first little radishes poking up through the soil were a tiny delight. Yes, radishes are one of the easiest vegetables to grow. But these radishes were growing in our vegetable garden.
I’ve wanted to plant a vegetable garden since we moved to Falls Church three years ago. In our first summer here, my mom brought me cucumber and tomato plants from her favorite greenhouse in Pennsylvania. I planted them in our backyard, but that was the year it rained and rained and rained. The cucumbers — we got one? Two? And the few tomatoes I was able to sneak off the vines before some wild animal ate them grew black spots as they finished ripening on our counter.
I’m no expert, but I could tell we needed a better spot for our vegetable garden; a spot that could survive years with too much rain, be easily watered in years where there’s not enough rain, and be protected from the vegetable thieves. Squirrels, deer, rabbits, and so many birds roam our neighborhood.
This spring, after two years of planning and dreaming, I finally dove in.
Getting Started on our Vegetable Garden
If you’re going to go the route of raised beds for your vegetable garden as we did, the possibilities for materials are seemingly endless. From containers on a balcony to luxurious walk-in designs, the sky seems to be the limit. I’ve recently been bombarded with links to articles about keyhole gardens.
We went with a simple rectangle that could sit on the edge of our patio — an 8-foot-by-2-foot box that reminds me of the garden beds at our first house in California. I decided to buy a cedar set to create our garden, since we’ve gardened before and know we want to keep it going. But you could easily start with some veggies in plastic pots in a sunny spot. Search around for inspiration, and ask your garden center for help.
Also of note: We ordered our first materials in March, but it’s not too late to start!
Our Materials
- Greenes Fence Original Cedar Raised Garden bed (2 ft. x 8 ft. x 10.5 in. and 2 ft. x 8 ft. x 7 in., stacked — I wanted to make sure our tomato plants would have enough room for roots.)
- Greenes Fence CritterGuard (a mix of 2-foot and 4-foot sizes)
- Burlap (to line the bottom of the beds)
- Soil, compost, and seed starter — to mix together (Miracle-Gro Performance Organics All Purpose In-Ground Garden Soil, Burpee Concentrated Seed Starting Mix, leaf compost)
- Lava rocks to line the bottom of the beds (on top of the burlap)
Seeds and Seedlings
Of all the places I imagined buying seeds and plants from, I have to say The Shop at Monticello was not one. But it came highly recommended, and I’ve been pleased with our results so far. As it turns out, Jefferson was very involved in his garden, recording details of what worked and what didn’t. The modern-day Monticello shop is full of heirloom seed options.
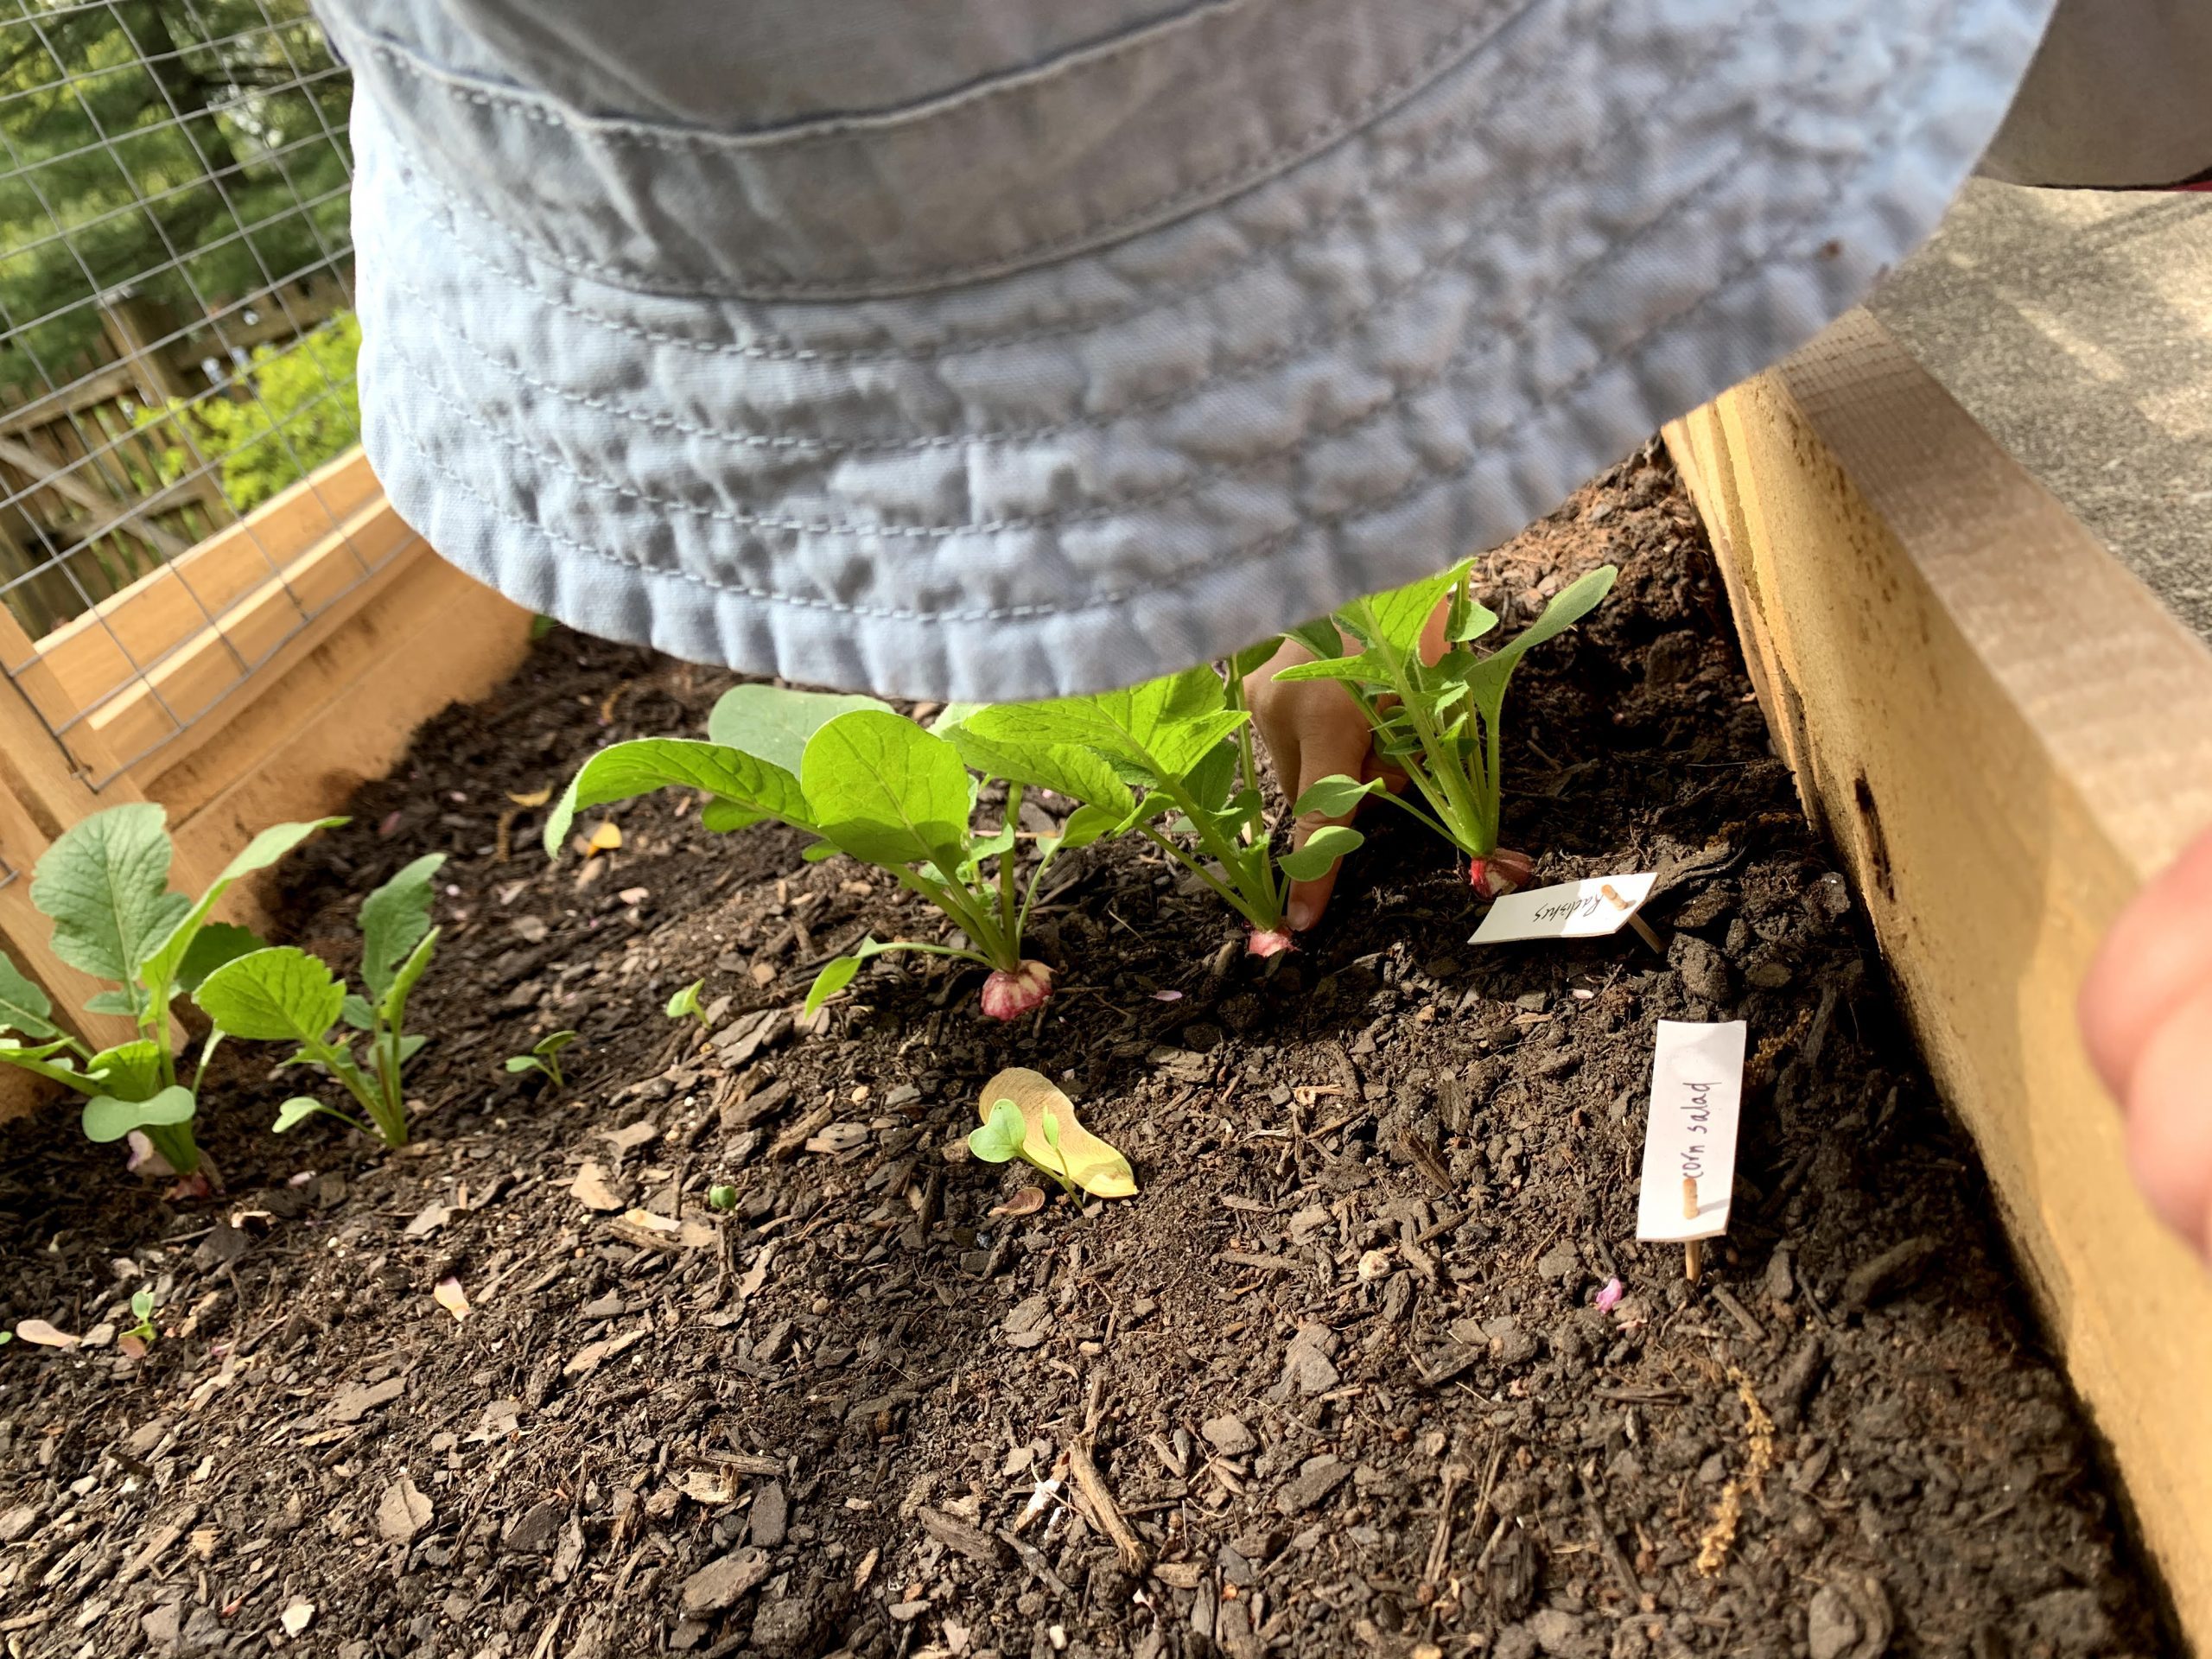
I ordered the Victory Garden Seed Collection. So far we’ve grown radishes from that collection and successfully transferred pepper sprouts to the garden. We started the seedling trays from egg cartons in the house.
(NOTE: I’m writing this in late April, and I’m aware that conventional guidance is to wait a little longer to plant outdoors — but I’m impatient, and I wanted my kitchen counter back.)
Last weekend, we also planted seeds for peas, runner beans, carrots, Swiss chard and sweet basil from the Victory Garden collection. We also planted some corn salad seeds from Monticello and some Thai basil from Seed Savers Exchange. Some of the peas and Swiss chard have already sprouted, despite last week’s crazily cold weather.
I had grand plans to head to the nursery to buy fancy tomato and pepper plants, but my three-year-old son saw a tomato plant he liked at Lidl recently (the Big Boy variety, go figure). Since it was only $3.99, and in a hefty pot, we decided to give it a try.
Potential Problems
We’re still in relatively early days with our garden experiment, but there are a few things I can already recommend watching out for:
- If you’re using critter guards of any kind, you’ll want to find a way to keep them secure. I used kitchen twine to tie our fence sections together, but I realized recently that I’d left a gap under just one of the sections, and something had been digging in the soil. Stay vigilant!
- Along with the DMV’s heat and humidity come bugs. I’ve already seen some tiny bugs swarming around our garden in the mornings, so I’ve ordered some Garden Safe spray to have on hand. (It helped to keep the aphids off our tomatoes and lemon tree in California.)
Involving Your Kiddo in the Gardening
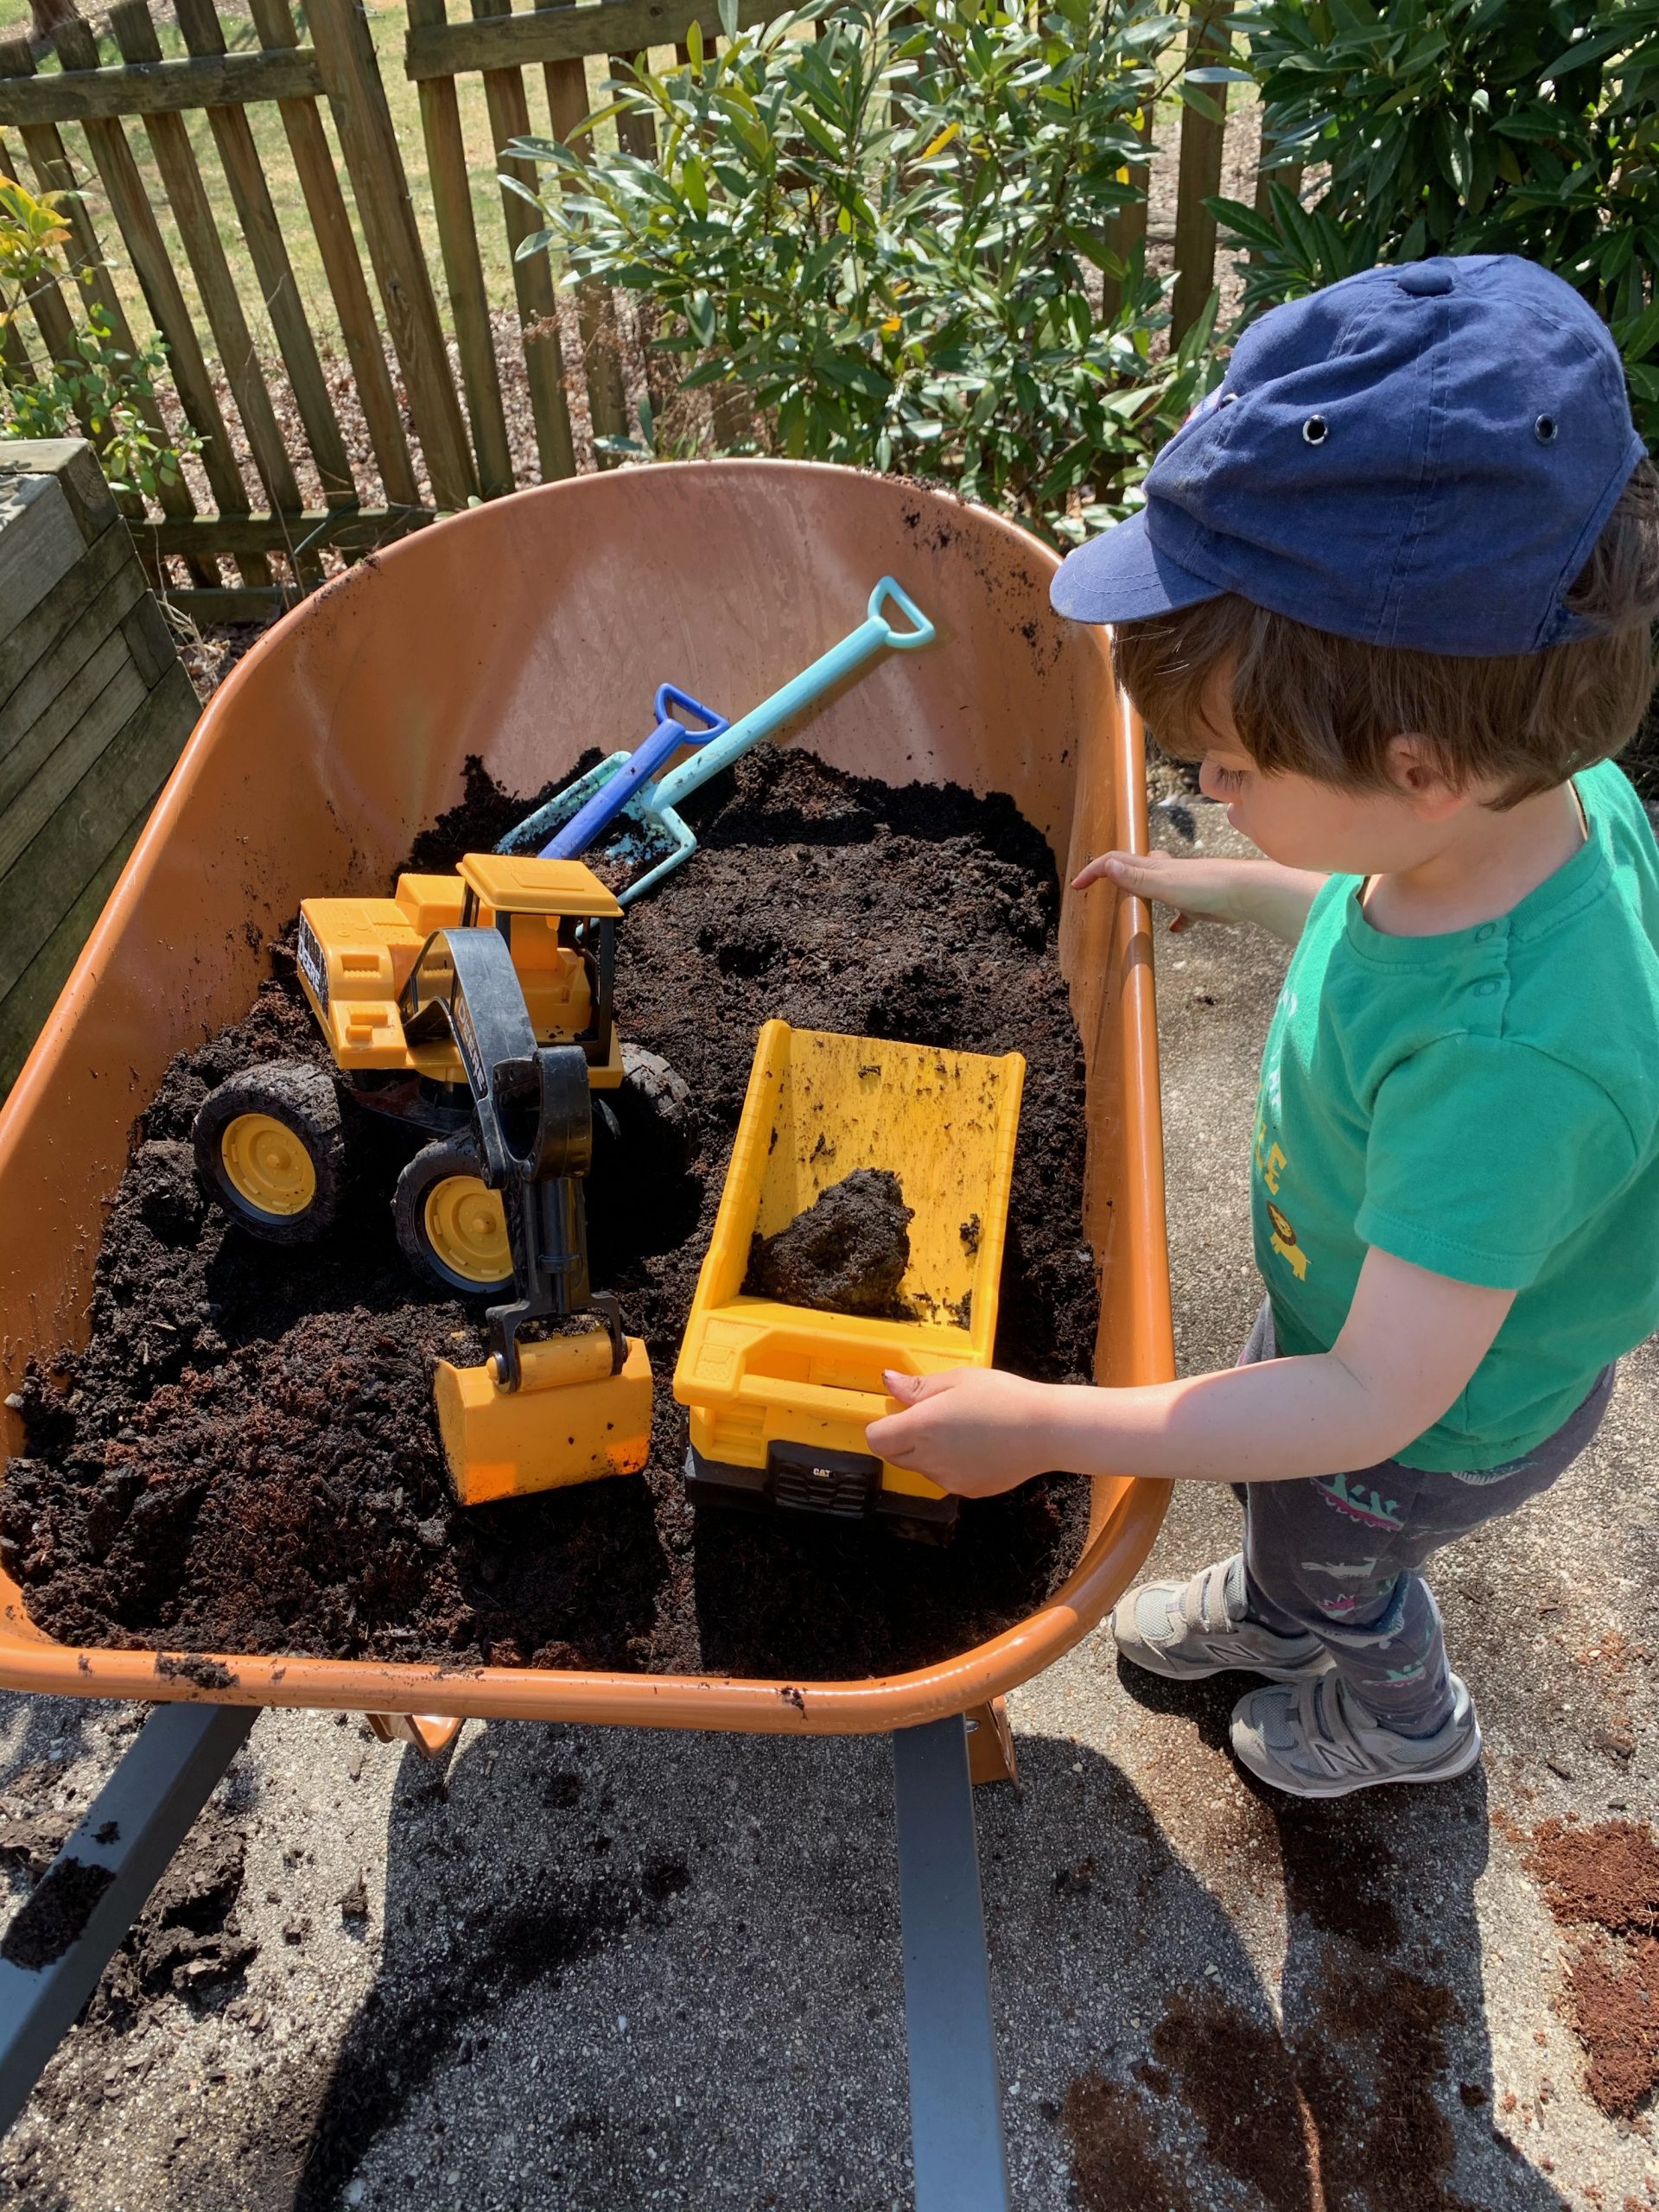
I’ll be honest: Having a kid help with gardening takes a bit of patience. But there have been a lot of fun kiddo-involved moments in putting our garden together. The overall benefits, including for my mental health, surely outweigh any frustration. Things my three-year-old has loved:
- Scooping and digging the dirt — What kid doesn’t like to scoop dirt? My son poured soil from a cup into egg trays for our seedlings and used his giant toy excavator to “dig a hole” for our tomato plant. He also helped mix the compost, seed starter and soil we used to fill the outside beds.
- Planting the seeds — To avoid losing an entire packet of seeds (or having them all dumped in a one spot), I find it best if you make the holes or rows where you want the seeds to go first. Then give your kiddo a small number of seeds to work with. (Covering them up is also fun!)
- Watering — Our poor pepper sprouts nearly drowned in the soaking my son gave them after we transplanted them — but at least I know now that he likes to water! Spray bottles, recommended by our wise babysitter, are a good trick to prevent overwatering.
Lastly, for an all-over kid-friendly project, grab a pack of marigold seeds and plant them at the edges of your garden. Bright flowers are known to deter insects from vegetables, and marigolds are super easy to grow. They’re quick to sprout, and you can save the seed pods from year to year, as we did, to multiply your flowers.
Happy gardening!
This article was originally published in 2021.


